The first signs of springtime for many is often the appearance of daffodils. They normally make an arrival around late February, and are often regarded as heralds of spring. The bulbs are quite hardy which helps them through the cold winter months.
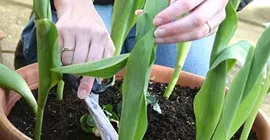
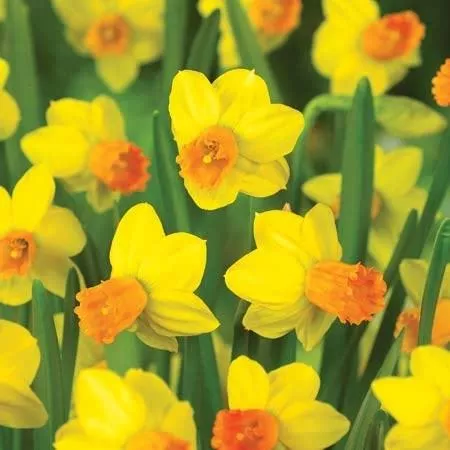
The daffodil’s official name is Narcissus, and the word daffodil itself is generally used to describe Narcissus varieties that have a trumpet. There are over 13,000 know distinct varieties of daffodils in existence, many of which are not the stereotypical yellow flower but in fact are reddish to pink with a beautiful scent. All types are beautiful in their masses or just as nice cut for an indoor flower arrangement. They normally bloom for six weeks then their flowers die back. The green foliage will be left behind, and this should only be cut back when it starts to wither and turns yellow. This foliage is where the bulb sources its energy from to prepare for a dormancy until next year’s re-growth. If the bulb is left undisturbed it should continue to re-flower year after year.
The daffodil bulb should be planted in autumn, preferably September, but as long as the ground hasn’t frozen, you can plant as late as December. Choose a dry day to start planting your bulbs, and prepare the ground by digging the soil over to create a fine tilth. If you are not sure how to do this, or you are not clear on the benefits, then read our advice article on The Importance of Digging.
A slow release fertiliser will help the daffodils establish stronger roots and grow bigger, which will enhance root growth and helping to feed the plant through winter.
The daffodil bulbs should now be readily available and are a cost effective way of adding some springtime colour to you garden and container pots. Choose firm, plump bulbs avoiding any with signs of mould. Marshalls Garden have a great selection for you to choose from.
The planting of daffodils itself is a quick process, ensure you are placing them with the roots facing downwards and into the soil three times the depth of the bulb. Replace the soil and gently firm down lightly by hand, or use the back of a rake. If at all possible avoid standing on the newly planted soil so you don’t accidentally damage the bulbs.
For further information on planting bulbs:
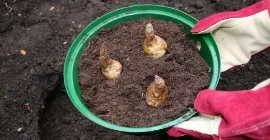
- Planting bulbs in containers – Choose heavy pots with drainage holes, and place crocks in the bottom for added drainage and less compaction. Use a bulb compost as this has the best texture and nutrients for bulbs. Plant with top growing point showing just above soil level. Check watering and take care not to overwater.
- Planting bulbs in borders – Plant in shallow holes where the growing point is just visible above the soil level. After flowering, allow foliage to die back naturally as this allows carbohydrate stores to build up and bulb division to occur naturally. This will ensure healthy flowering the following spring.