

Gardening blog
-
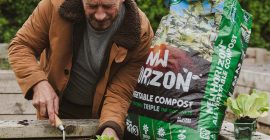
How to Grow Vegetables with New Horizon Learning how to grow vegetables is one of the most rewarding things you can do. Nothing compares to serving up your own homegrown spuds with…
-
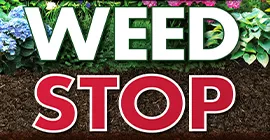
What is Weed Stop? Weed Stop is a 100% natural and decorative ground cover that prevents weeds for up to 6 months on soil-borne weeds. It can be used…
-
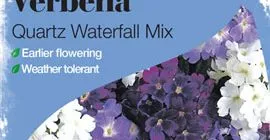
Our Top 5 Container Flowers After a quick and easy way to dress up your front porch, patio or even a balcony area?
-
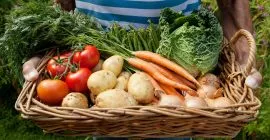
Vegetarian and Vegan Gardening Vegetarian Gardening Vegetarian and vegan gardening is growing more and more popular year on year. The Vegan Society conducted research several years ago that showed…
-

Don’t forget to recycle your Christmas Tree How to recycle your fallen christmas tree
-
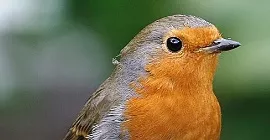
8 Reasons Why the Robin is the Nation’s Favourite Bird Earlier this year, the BBC ran a poll to find out the nation’s best loved bird. More than 200,000 people took part and asked to vote on their favourite bird.