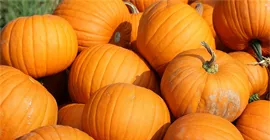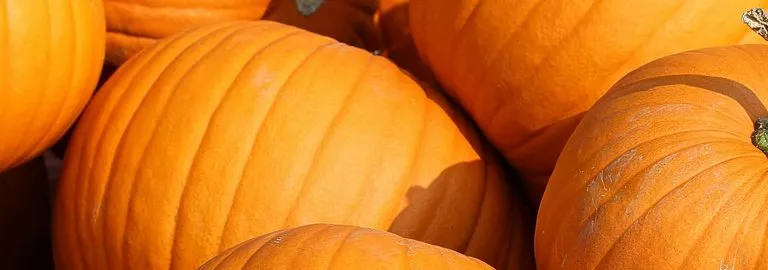
Halloween is many peoples’ favourite time of the year. Whether you love dressing up yourself or trick or treating with the kids, you’re sure to see plenty of pumpkins. That’s why we thought we’d share some of our favourite pumpkin carving templates with you.
They’re all from Real Simple and they truly are! Whether you want to go for a classic pumpkin face, or think a little outside the box this year, there’s five to choose from. Simply carve out the black sections and pop in a tealight to see your designs illuminated!

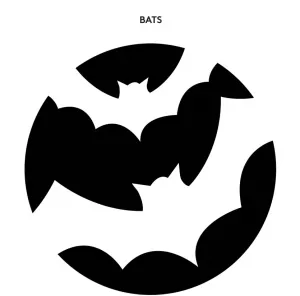
Bat pumpkin stencil
Tombstone pumpkin stencil

Ghost pumpkin stencil

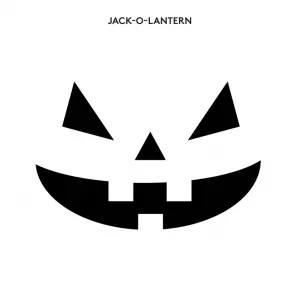
Pumpkin face stencil
View more Pumpkin Carving Templates at Real Simple
How to carve a pumpkin
1. Gather your pumpkin carving tools
Ice cream scoop: perfect for removing the inside of the pumpkin
Thin narrow knife: The knife should have a blade to get through the parts of the pumpkin as easily
Paring knife: just the right size and shape for carving – ensure its sharp
2. Cut a hole in the back
Cut a square shape opening in the back of the pumpkin, large enough to accommodate your hand and wrist (to scoop out the insides). Don’t damage the removed pumpkin panel—you’ll put that back when you’re done. We suggest waiting to cut a hole around the stem, as this structurally weakens the pumpkin and causes it to degrade quicker.
3. Scoop out the inside
Make you completely remove the insides as any left over will cause the pumpkin to rot. Doing this will also help to keep squirrels and other small animals away.
4. Stencils
Print out one of our stencils, tape into place on the pumpkin and draw it onto your pumpkin a pen or pencil that should wipe away. Or you can carve through the paper.
Using a sharp knife carefully cut along your design. If a piece you’ve cut doesn’t pop out, try pushing it in and grab through the entry hole in back. If a piece gets stuck, cut it in half. Do not cut too deeply or the piece may fall out. Top Tip – Use toothpicks to connect stray pumpkin pieces.
5. Preserve your pumpkin
Spray your pumpkin inside and out with a bathroom cleaner containing bleach. Let it evaporate for at least five minutes. This trick keeps the pumpkin from rotting too quickly and protects it from hungry squirrels and other animals.
6. Light it up
We recommend using battery-operated flameless candle for safety. But if you can’t resist a real candle – be sure to cut a vent in the top back of the pumpkin so the smoke can escape safely