Bulbs are low maintenance and reappear with little effort each year. The ideal way to add colour and interest in beds and borders. Our step by step guide is great to create elegant spring bulb displays.
Plant in spring, summer or autumn (Read the packet labels to see recommended times of the year to plant your bulb)
Plant bulbs instantly
For best results, choose bold, contrasting varieties for splashes of colour around the garden.
Step 1 :
Decide where you want to plant your bulbs. Check the packet label for advice on the best location for the variety you have bought.
For the best effect in garden borders, plant them in large clumps to maximise the impact of colour.
Dig out a hole in the garden soil that is deep enough to cover the bulb with twice its height in compost.
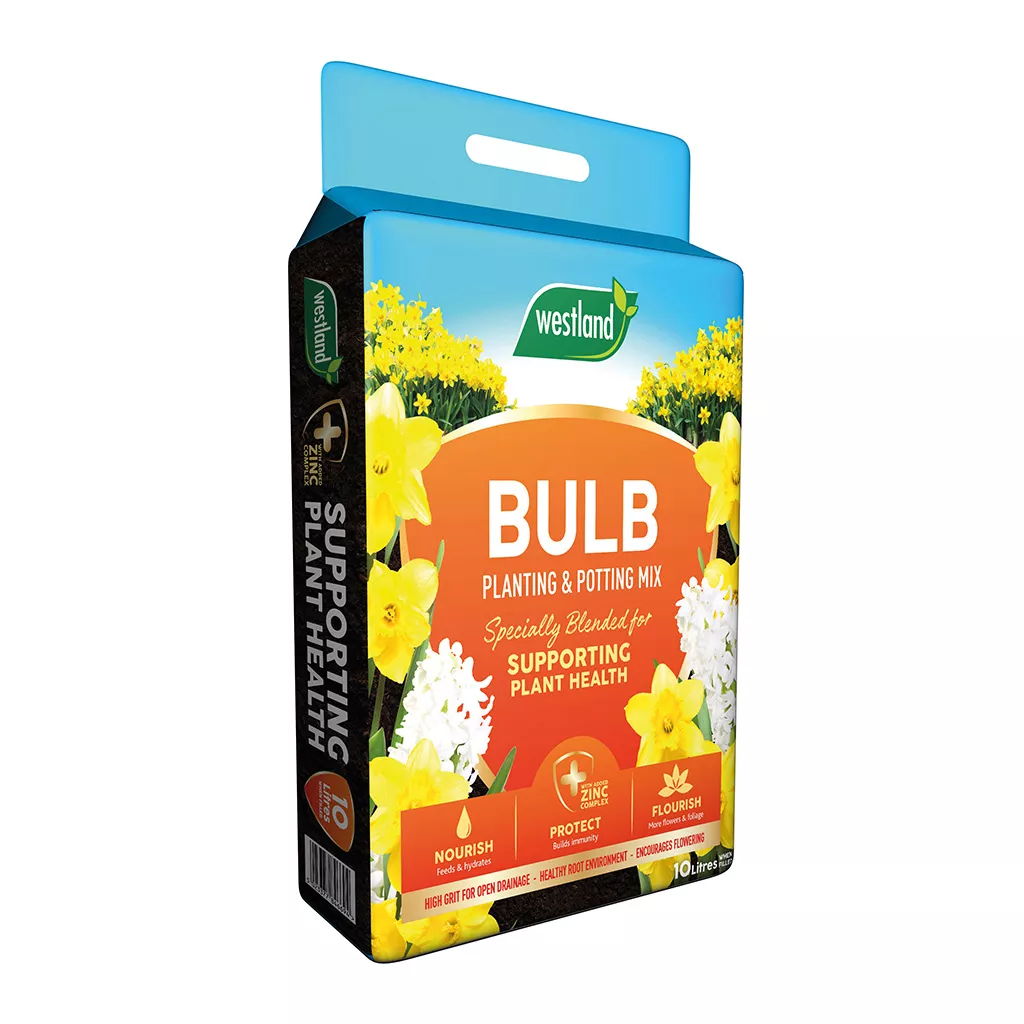
Loosen the soil in the base of the hole and mix in Westland Bulb Planting & Potting Mix.
Step 2:
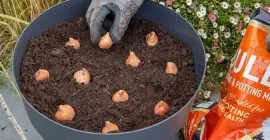
Push each bulb down to twice its height in the compost with the pointy nose end facing upwards (again, check packet label for specific advice for the bulb you have chosen).
Leave about 10cm (4in) between each bulb, so they do not touch.
Try to position in a haphazard way (not in straight lines) to mimic a natural display.
Step 3:
Backfill the holes and cover the bulbs with more Westland Bulb Potting & Planting Mix and firm down evenly.
Cover over the top with garden soil and mark the spot with a plant label.
Step 4:
When bulbs begin flowering, feed every 10 days with a high potassium feed, such as Westland Big Tom. Begin feeding when shoots appear and stop once the leaves start to wither at the end of the season.

Step 5:
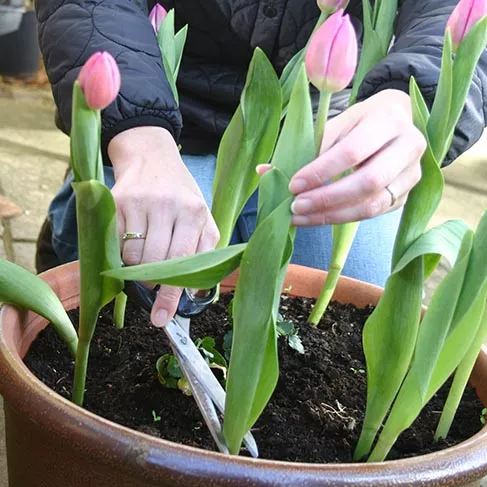
Once the leaves start to wither at the end of the season, allow them to die off naturally then gently remove them with a pair of scissors and leave in the ground, ready to flower again the following year.
