Container gardening allows you to transform any space into a blooming oasis, regardless of size or location. Whether you’re adorning a balcony, patio, or windowsill, planting containers with vibrant flowers adds instant charm and visual appeal to your surroundings. In this guide, we’ll go through the steps on how to plant up containers and how you can create beautiful floral arrangements.
Step 1 – Choose your container to plant up
The first thing that you need to do is choose suitable containers to plant up. We advise using a big container as this means the plants are less likely to dry out. Ensure the pot has drainage holes in the bottom. Whether you opt for terracotta pots, wooden crates, or hanging baskets, ensure they provide adequate drainage to prevent waterlogging. Waterlogging can be detrimental to a plant’s health.
Put some gravel or some broken-up pot into the bottom of the pot you have chosen. This allows excess water to escape the container to prevent the pot from becoming waterlogged. Providing 9cm (3 ½ inches) of drainage is sufficient for a 45cm (18 inches deep) container. Also standing the pot on small blocks or bricks helps to get rid of excess water.
Step 2 – Choosing the Right Plants
When selecting the plants for the container try to use a theme that matches any existing colours you have in your garden. This ties the garden together and makes it more appealing. Also, try to select some plants with various heights to bring vertical interest and variety into the container. Popular choices for container gardening include:
- Thrillers: Tall, eye-catching plants that serve as the focal point of the arrangement, such as spike dracaenas, cordylines, or ornamental grasses.
- Fillers: Medium-height plants that fill out the container and provide volume and texture, such as petunias, geraniums, begonias, or impatiens.
- Spillers: Trailing or cascading plants that spill over the edges of the container, adding a sense of flow and softness to the arrangement, such as trailing ivy, bacopa, lobelia, or sweet potato vine.
Step 3 – Fill with compost
Fill the pot with compost, but don’t fill it right to the top, as you need to allow for room to arrange the plants. When you plant up containers it is important to use a specialist container compost.
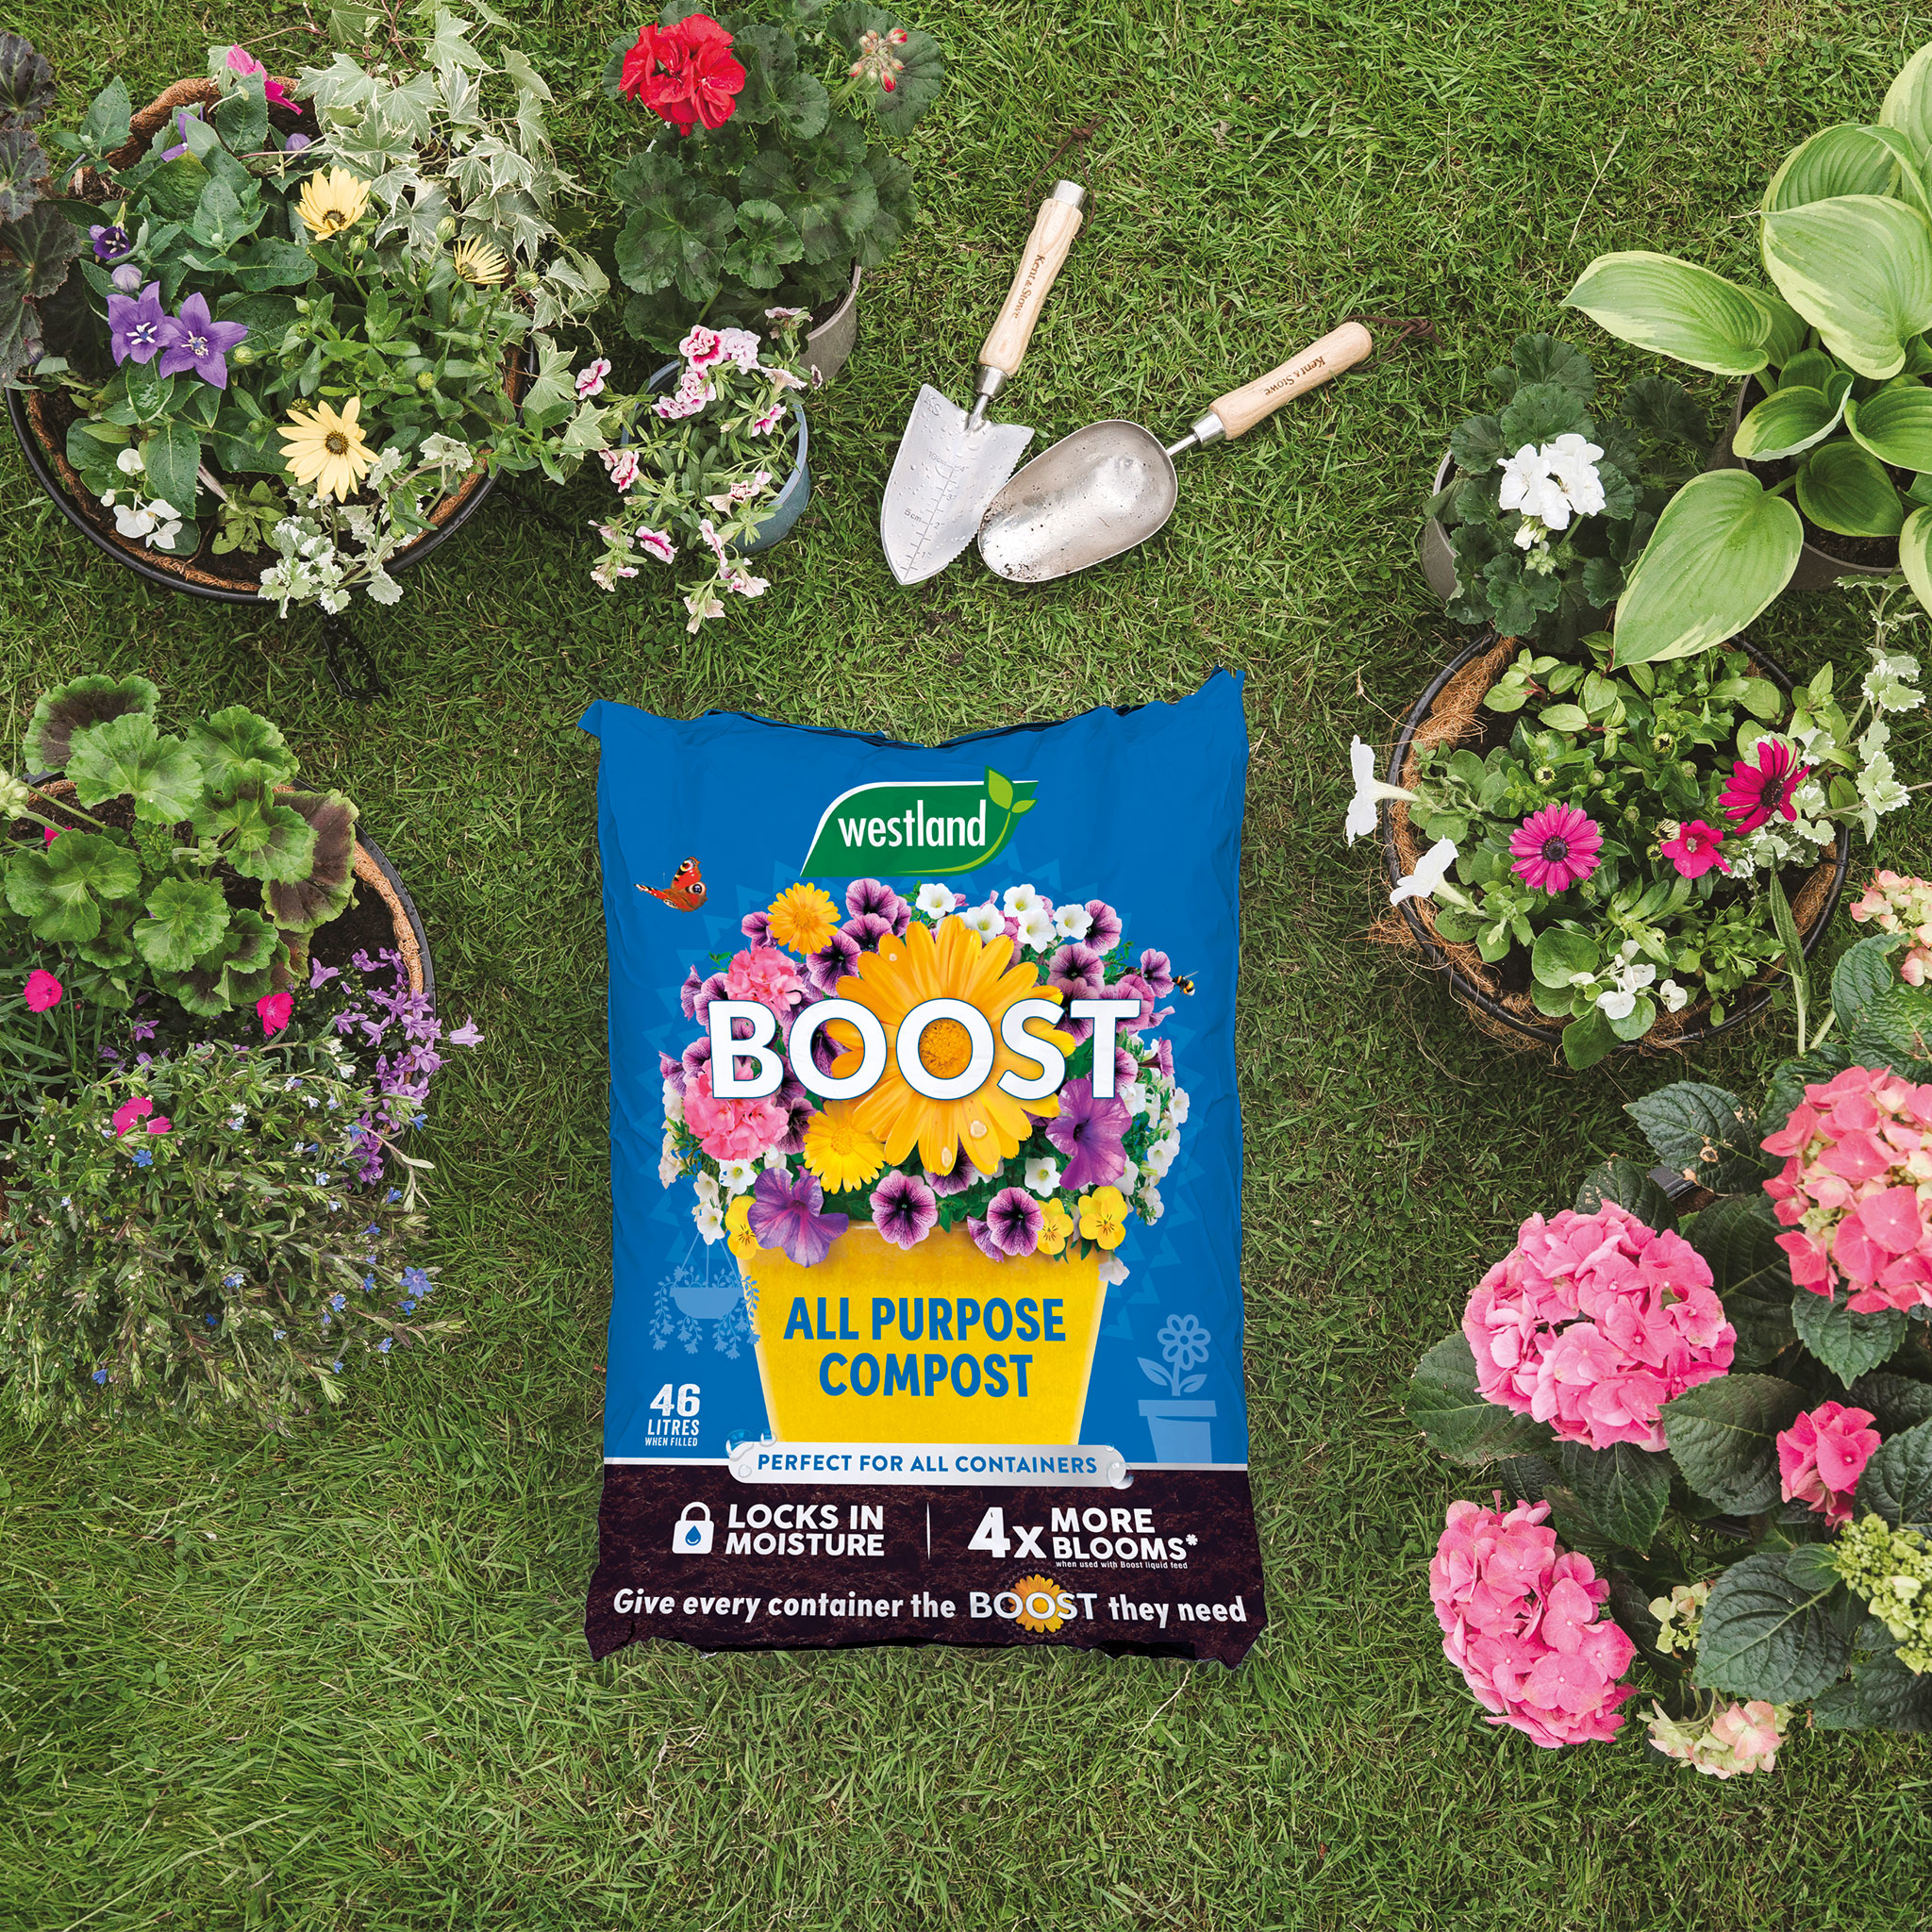
Westland Boost All Purpose Compost is a specially blended compost designed to nourish and support the health of your container plants, ensuring they thrive and flourish throughout the season. What makes Westland Boost All Purpose Compost stand out? It is peat-free, making it an eco-friendly choice for environmentally conscious gardeners. Enriched with starter feed, our compost provides essential nutrients to jumpstart plant growth and development from the moment you pot them.
Boost compost also features Moisture Lock Technology, which means watering becomes more effective and hassle-free. Say goodbye to constantly monitoring soil moisture levels and hello to lush, vibrant plants without the guesswork.
Give your plants the boost they need for stunning floral displays that will be the envy of your street.
work a handful of Boost All Purpose Multi-Action Granules into the compost for a season long boost of nutrients. These nutrient-packed granules strengthen roots, promote greener foliage, and provide up to 6 months of slow-release feeding to enhance overall plant health.
Step 4 – Planting and arranging
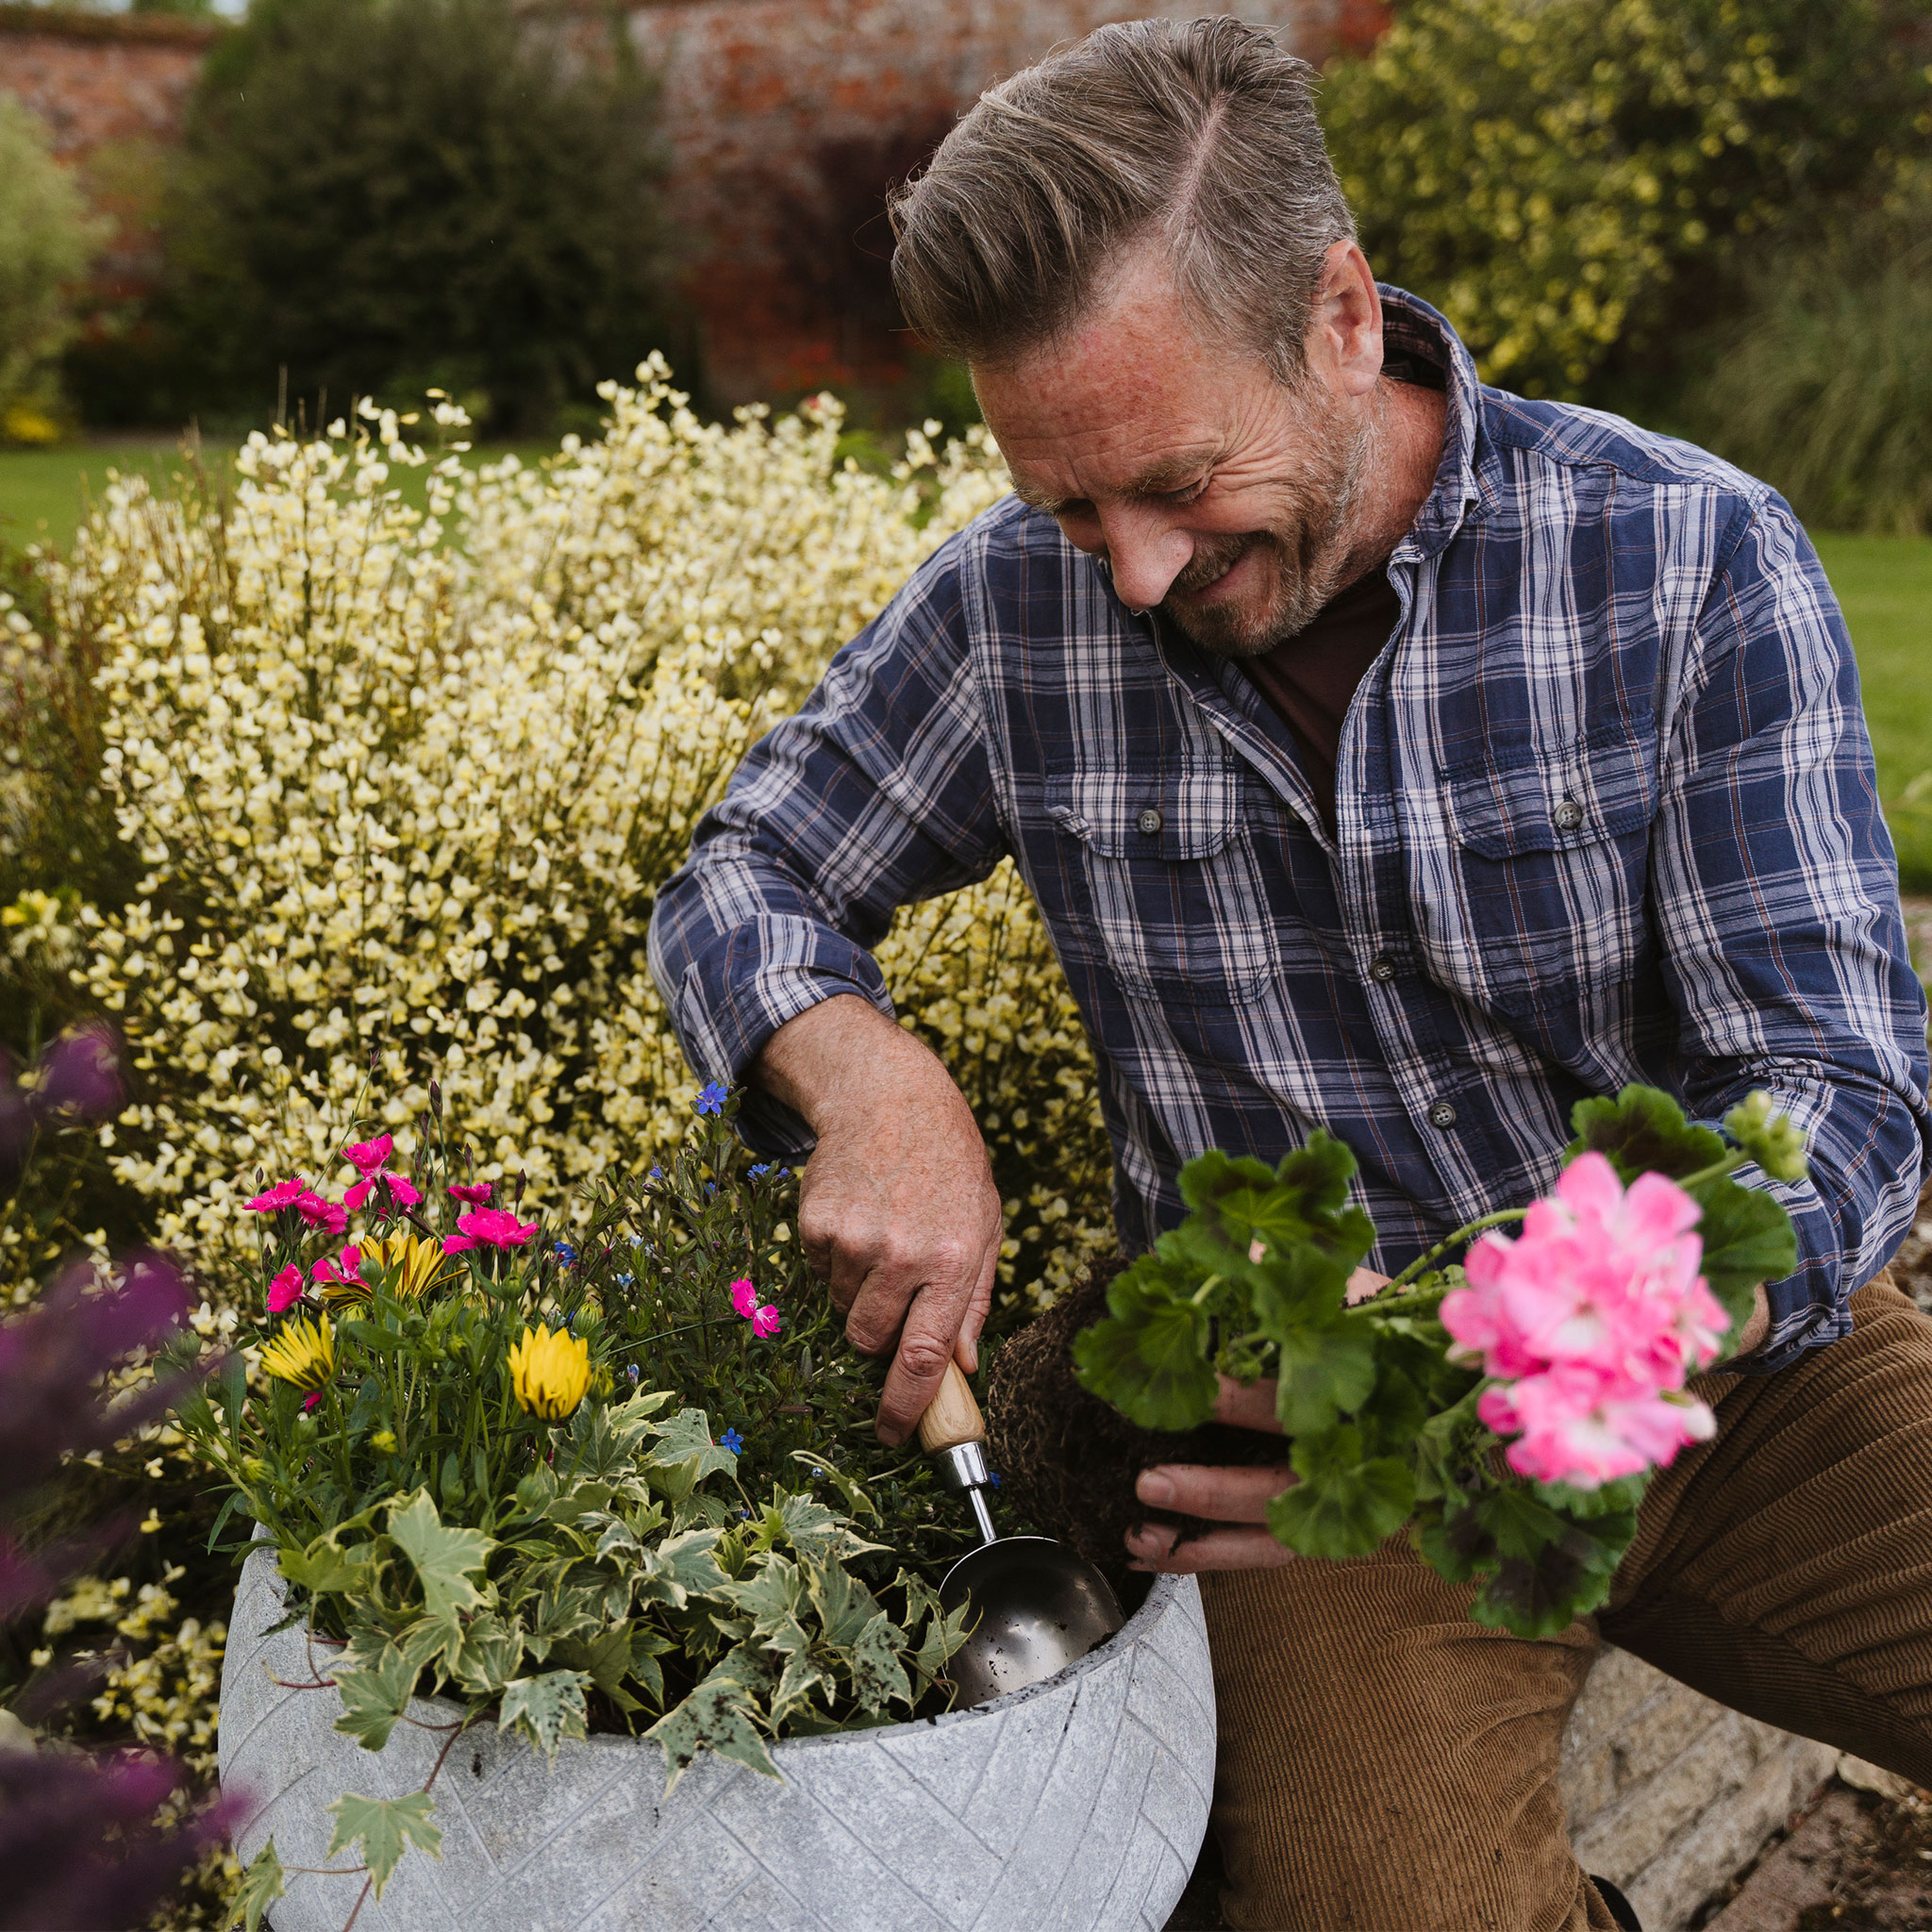
Start to plant up the container by placing taller plants in the centre. Then fill the pot slightly more with compost for the smaller plants around the outside.
Step 5 – Feeding and watering
Once all the plants are planted in the container, firm the compost around the plants with your fingers and top up with compost where necessary. Leave about a 2.5 cm (1 inch) gap between the soil level and the top of the container to allow room for the water to soak in. This is important as all the roots need to be in contact with the compost, as this is where the new nutrients and water will be. Plants need to reach out and grow into the compost in the surrounding area.
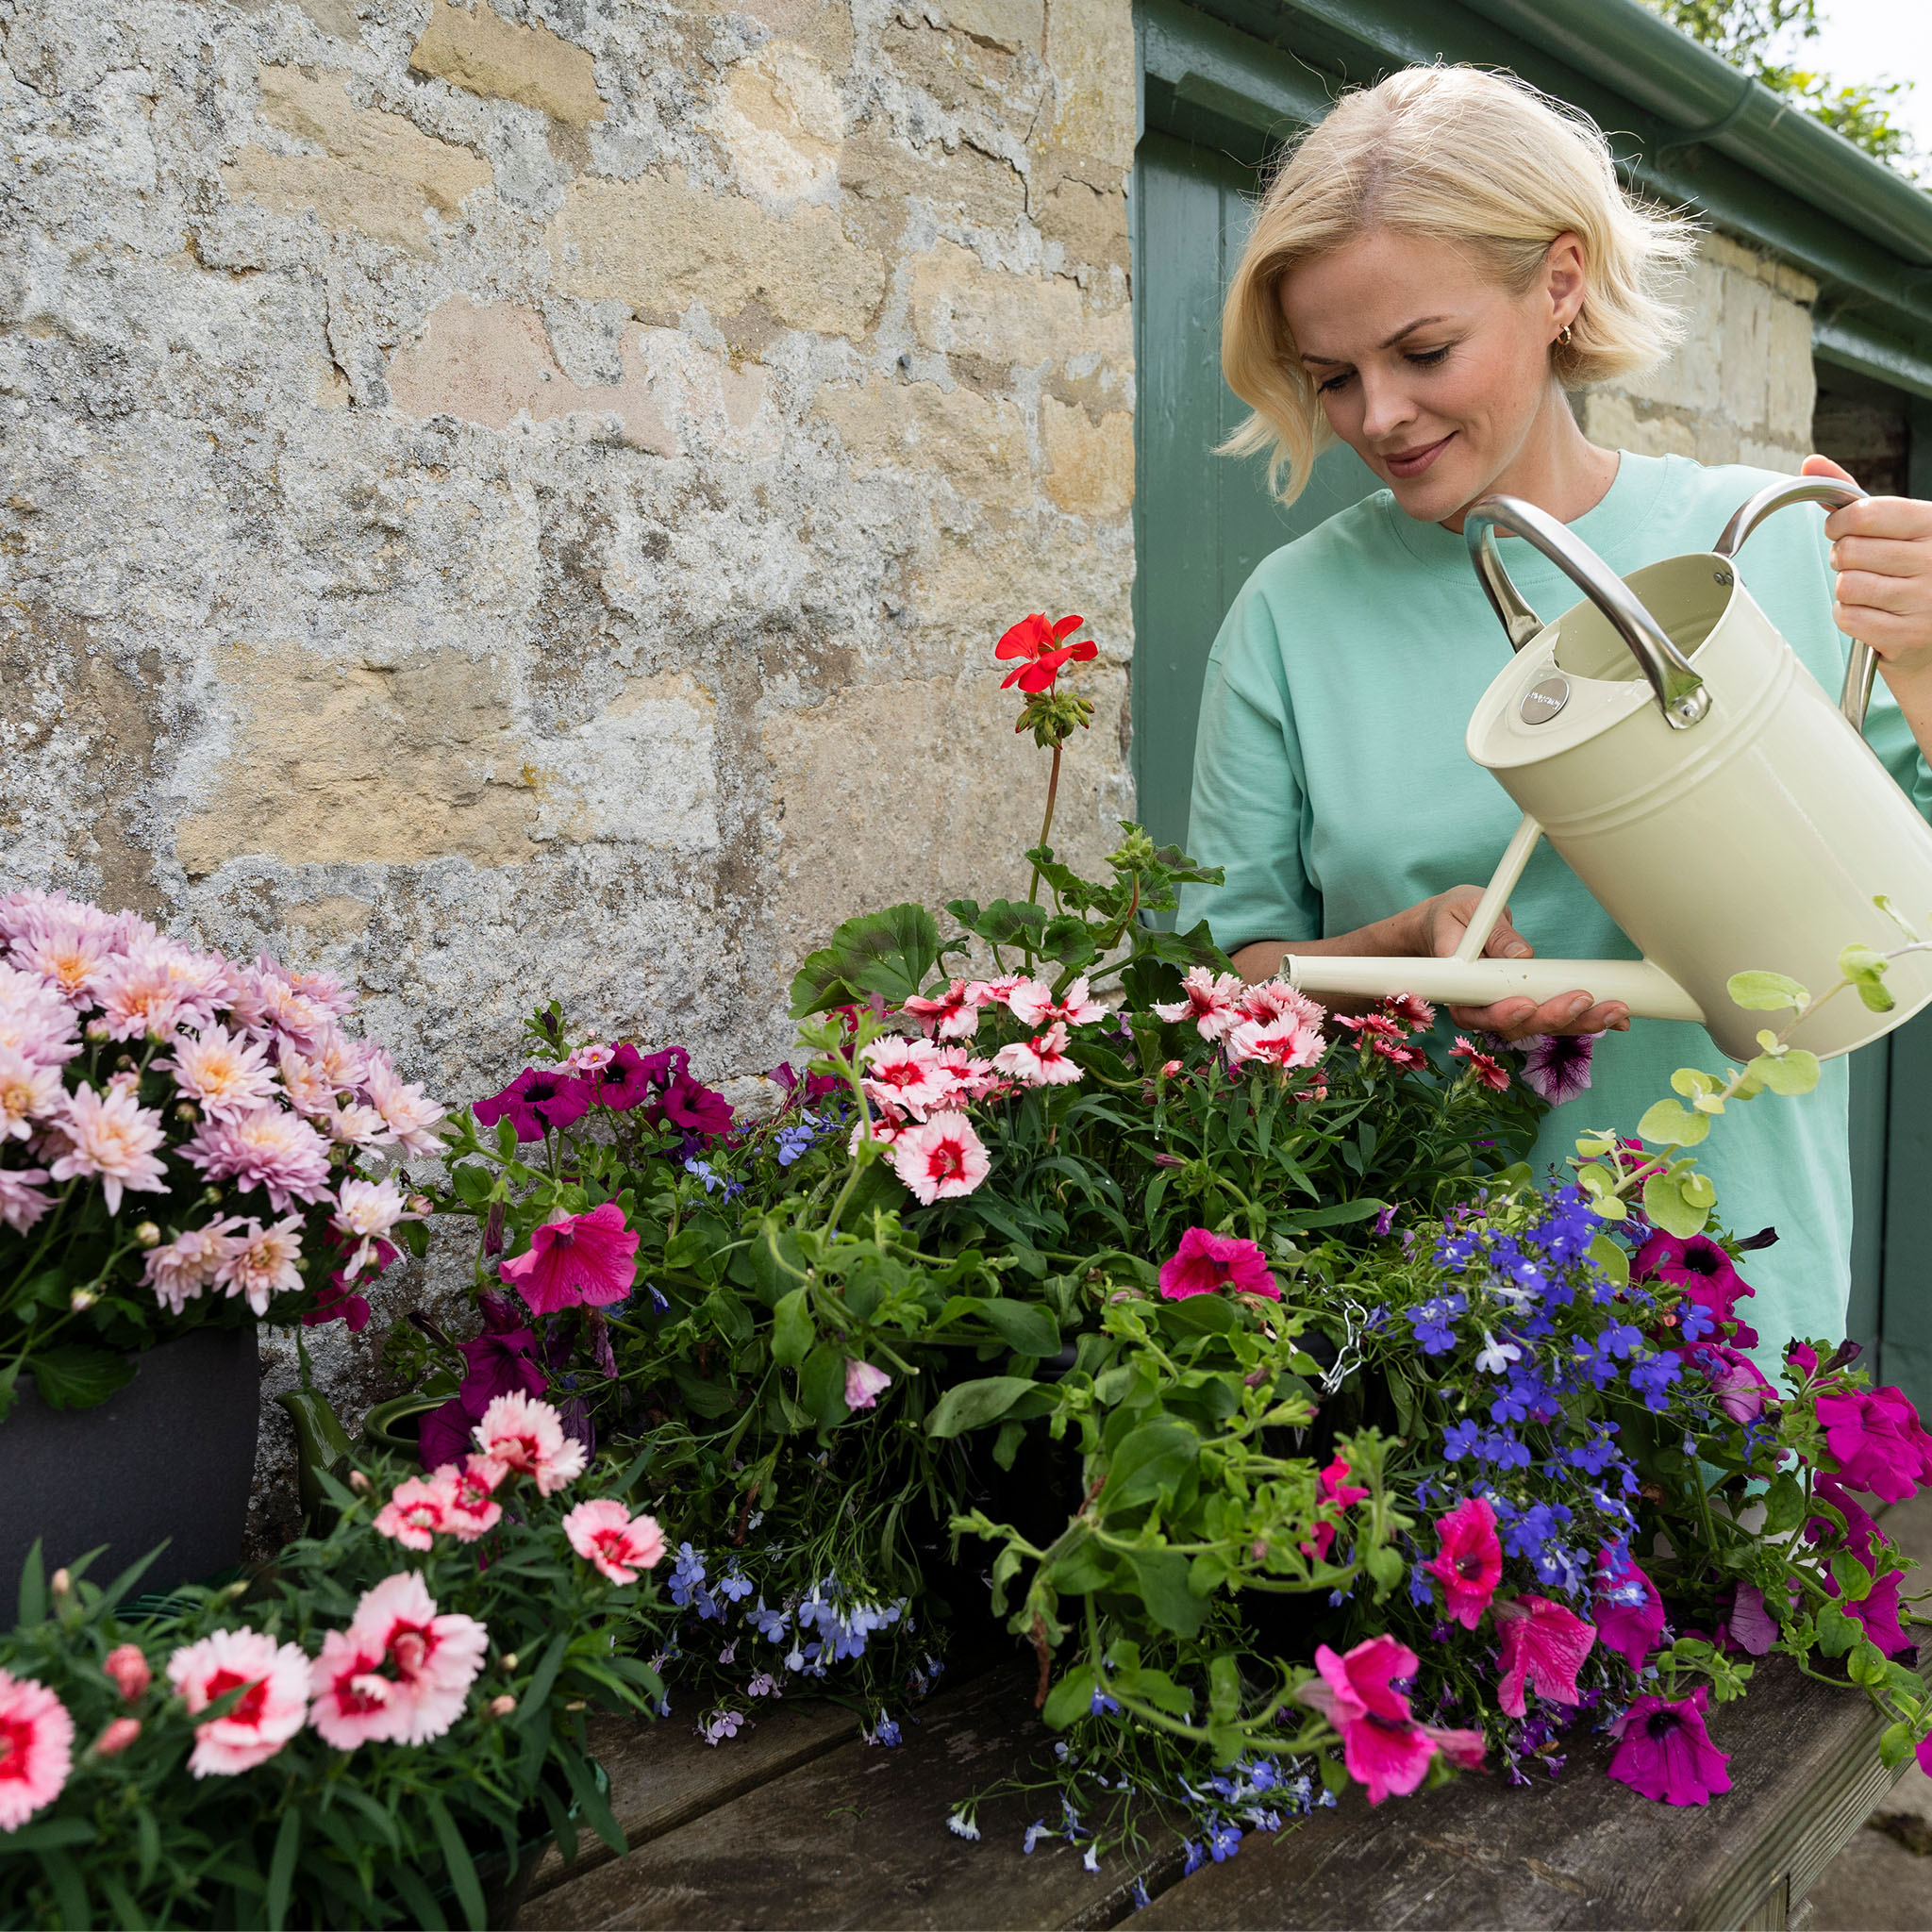
Water the container well. The container will need watering at least once a day from April to September. It is also important to feed weekly with Boost All Purpose Liquid Plant Food. You can achieve 4x more blooms* with Boost All Purpose Compost when you feed with Boost which is specially formulated for use with peat based, peat free and ericaceous composts.
