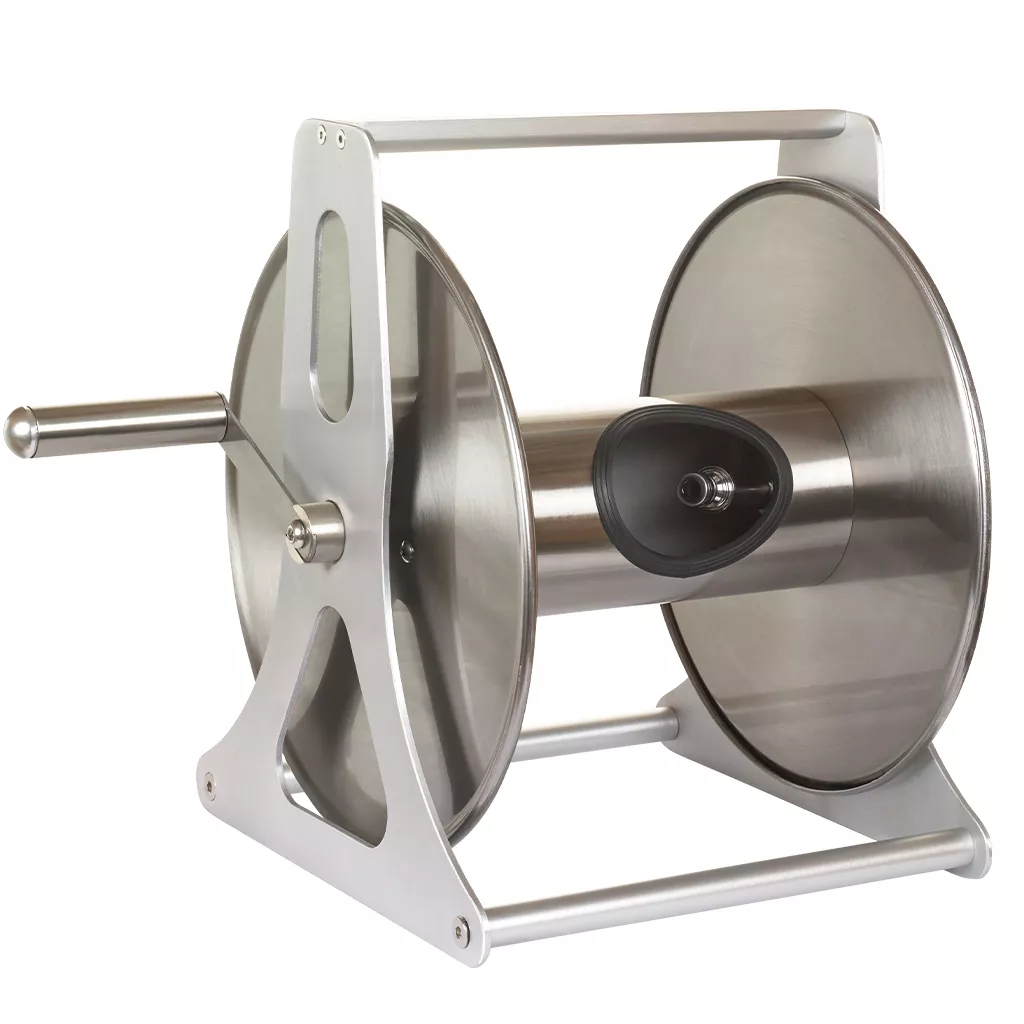
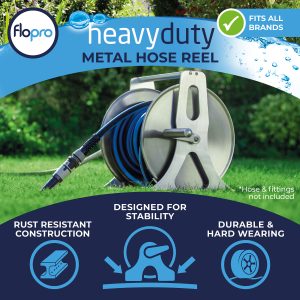
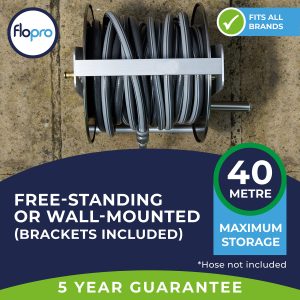
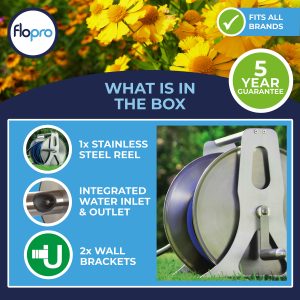
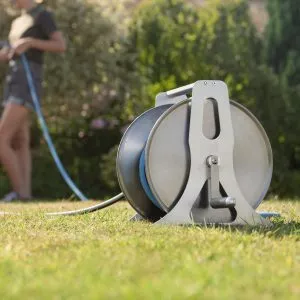
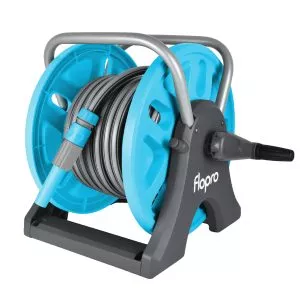
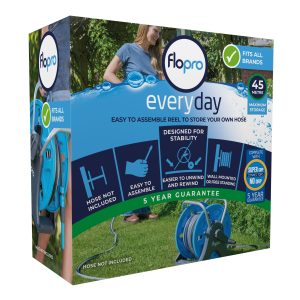
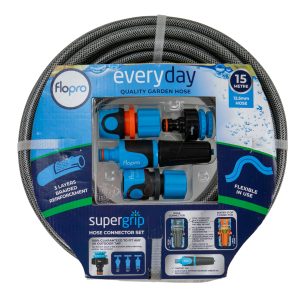
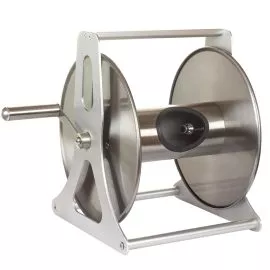
This stylish and contemporary Flopro Heavy Duty Metal Hose Reel has been designed to ensure that your hose does not kink or twist when winding. The reel comes empty so you can add whatever length of hose you want. It can hold up to 40m of hose and is either freestanding or it can be wall mounted (brackets included).
- Freestanding or wall mounted
- Holds up to 40m of 13mm (1/2″) hose (not included)
- High quality stainless steel and aluminium construction
- Durable and hard-wearing
- Resistant to rust
- Wall mounting brackets and fittings included
- Metal hose connectors for improved durability
- 100% compatibility with all watering brands
- 5 year guarantee
Please note the handle and attachments are inside the Flopro Professional Metal Hose Reel on purchase and require assembly.
Find out more about our Flopro watering range.
- How to Use
- Caring for your Watering Equipment
- Tips & Advice
This Flopro Metal Hose Reel can be used wall mounted or freestanding
To get started
- Remove handle and all attachments from inside the drum
- Using the Allen key and screw provided, attach the handle to the outside of the drum and tighten
- Screw the female tap adaptor onto the outside of the drum
- Attach a hose connector to the hose pipe you would like to wind onto the reel
- Click the hose connector onto the male outlet inside the reel – make sure this outlet is fully tightened
- Wind on the hose
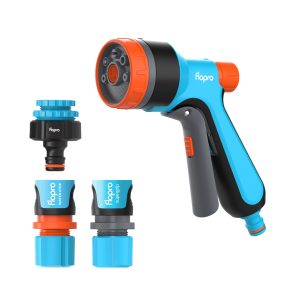
- Add a water stop hose connector and either a Nozzle or Spray gun to the end of your hose pipe
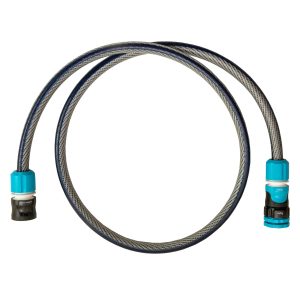
- Attach a leader hose from your reel to your tap
- Place on the ground to begin use
Attaching the reel to the wall
Please ensure the reel is positioned close to the tap, to a maximum suggested distance of 1 metre.
You will require
Drill, screwdriver and spirit level
- Using the bracket as a template and the spirit level to ensure the bracket is straight, mark the wall through the bracket. For best results, the brackets need to be positioned at either end of the top pole
- Drill the wall in the two identified positions
- Insert the wall plugs provided
- Place the brackets onto the wall and fix in place using the screws provided
- Using the Allen key provided, loosen & remove the screws at either side of the top frame and remove the pole. Pull the 2 x black grips onto the pole and position at either end. These grips will help to protect the pole and provide grip for the wall bracket
- Insert the pole back onto the reel frame and tighten the screws
- Place the reel onto the wall, positioning the rubber grips on the pole into the brackets
- Insert the bracket handle screws and tighten
- Wind on the hose
It’s important to take proper care of your garden watering equipment so that it continues to function well every season. It’s especially important to look over your watering equipment before putting away for winter.
Outdoor taps should be turned off at the mains if possible. If not we suggest protecting them with an insulated tap cover.
Detach any water timers you have, give them a clean and store them away in a frost free environment until next use
We also recommend that you take in all hosepipe accessories such as spray guns, watering lances, sprinklers and tap connectors. This will help avoid any damage from ice.
When you pack away your sprinkler for winter – its a great idea to empty any residual water and give it a good clean
Give your hose reel or cart a good wash and check for any wear and tear before placing inside for the winter. Ensure the hosepipe is completely empty of any water to ensure that there is no build up of frost inside
For any questions or advice, please contact our technical advice line on 01480 443789 (Mon-Fri 10am-4pm) or email customerservice@westlandhorticulture.com


